
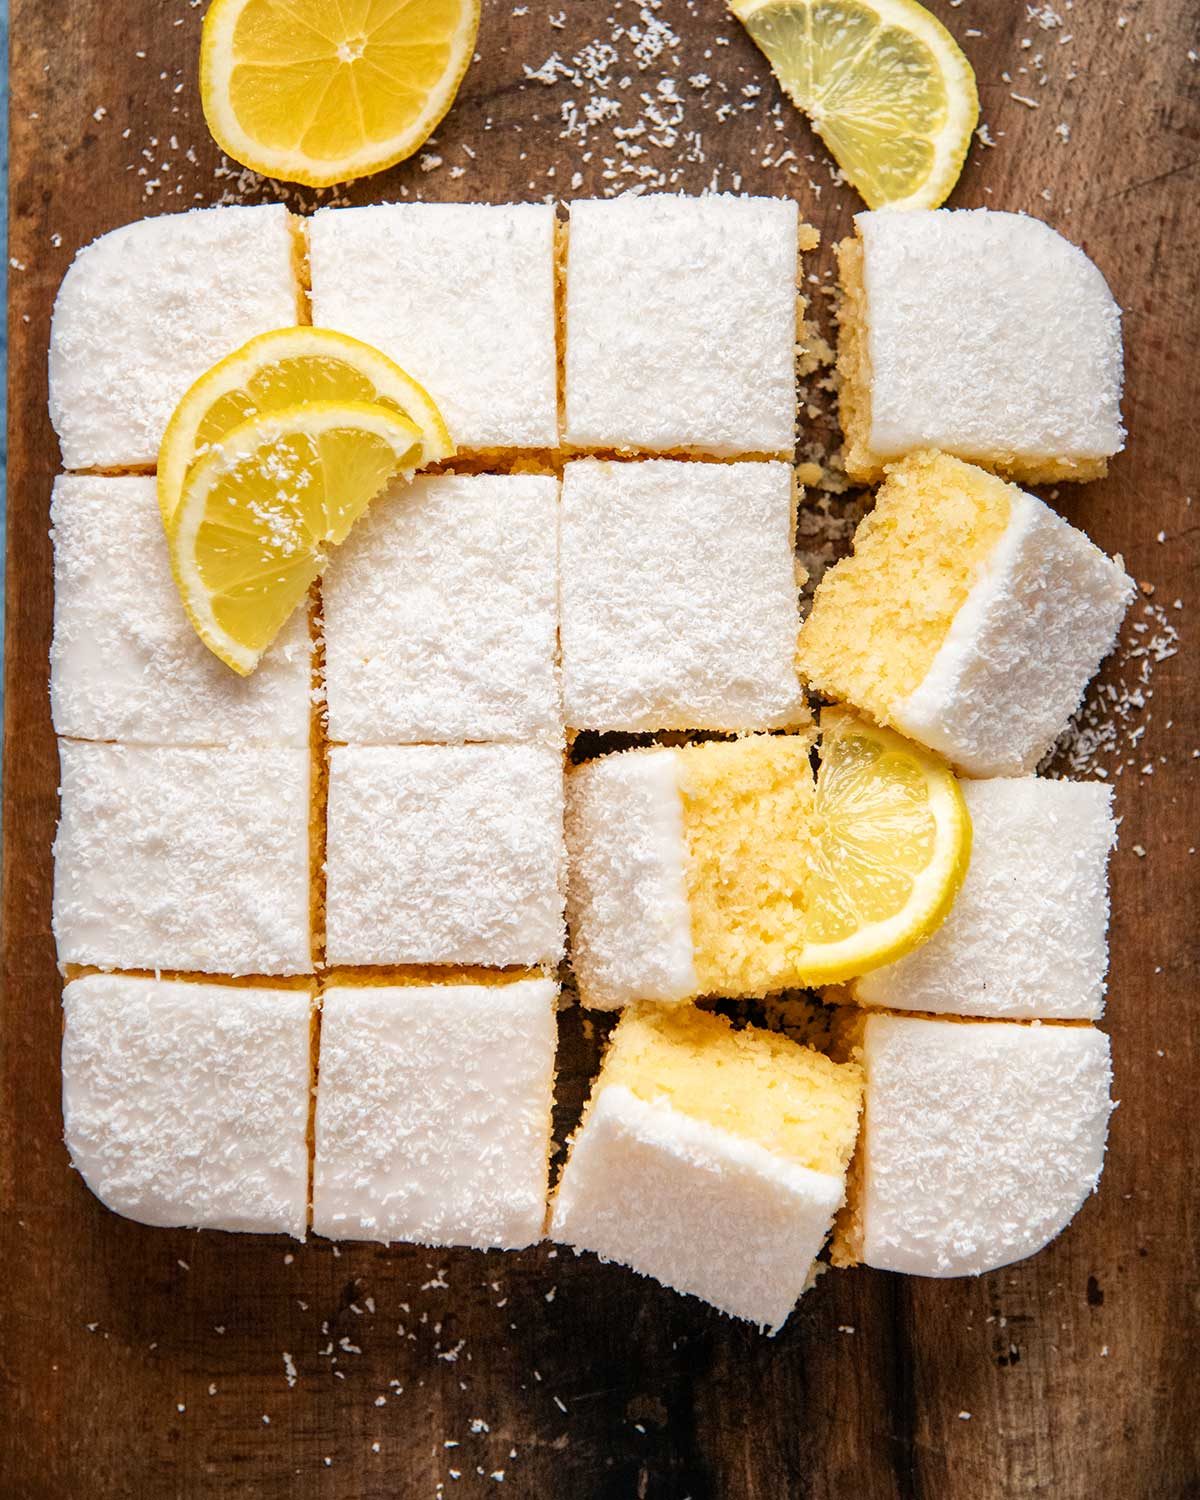
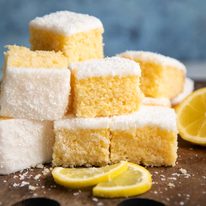
This is the cakey kind of Lemon Coconut Slice, with a lemon coconut butter cake topped with lemon icing, cut into little squares so it’s perfect with a cuppa. And because the icing is the crusting sort, it’s practical for bake sales or tucking into lunch boxes!
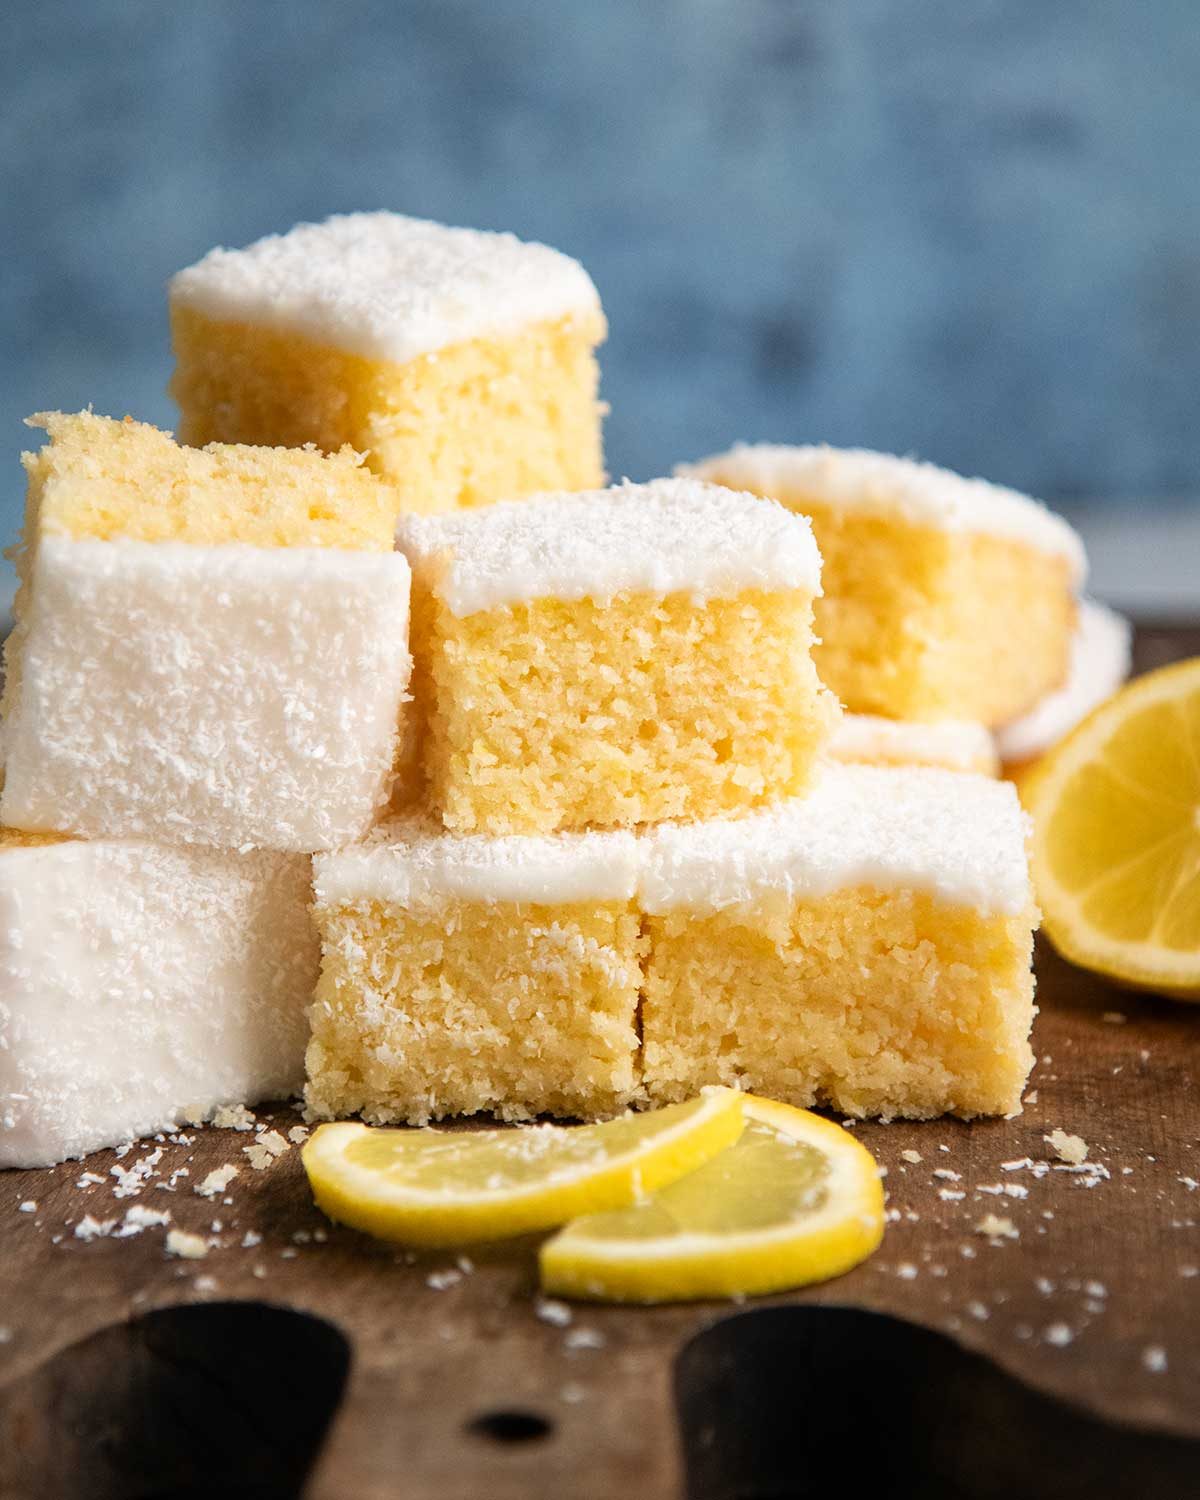
Aussie Lemon Coconut Slice Cake
I’m sure this style of cake isn’t exclusively Australian, but I call it Australian because it’s a copycat of lemon cake slices I grew up seeing in cafes and at school bake sales. These days, you’ll even find packaged versions in grocery stores!
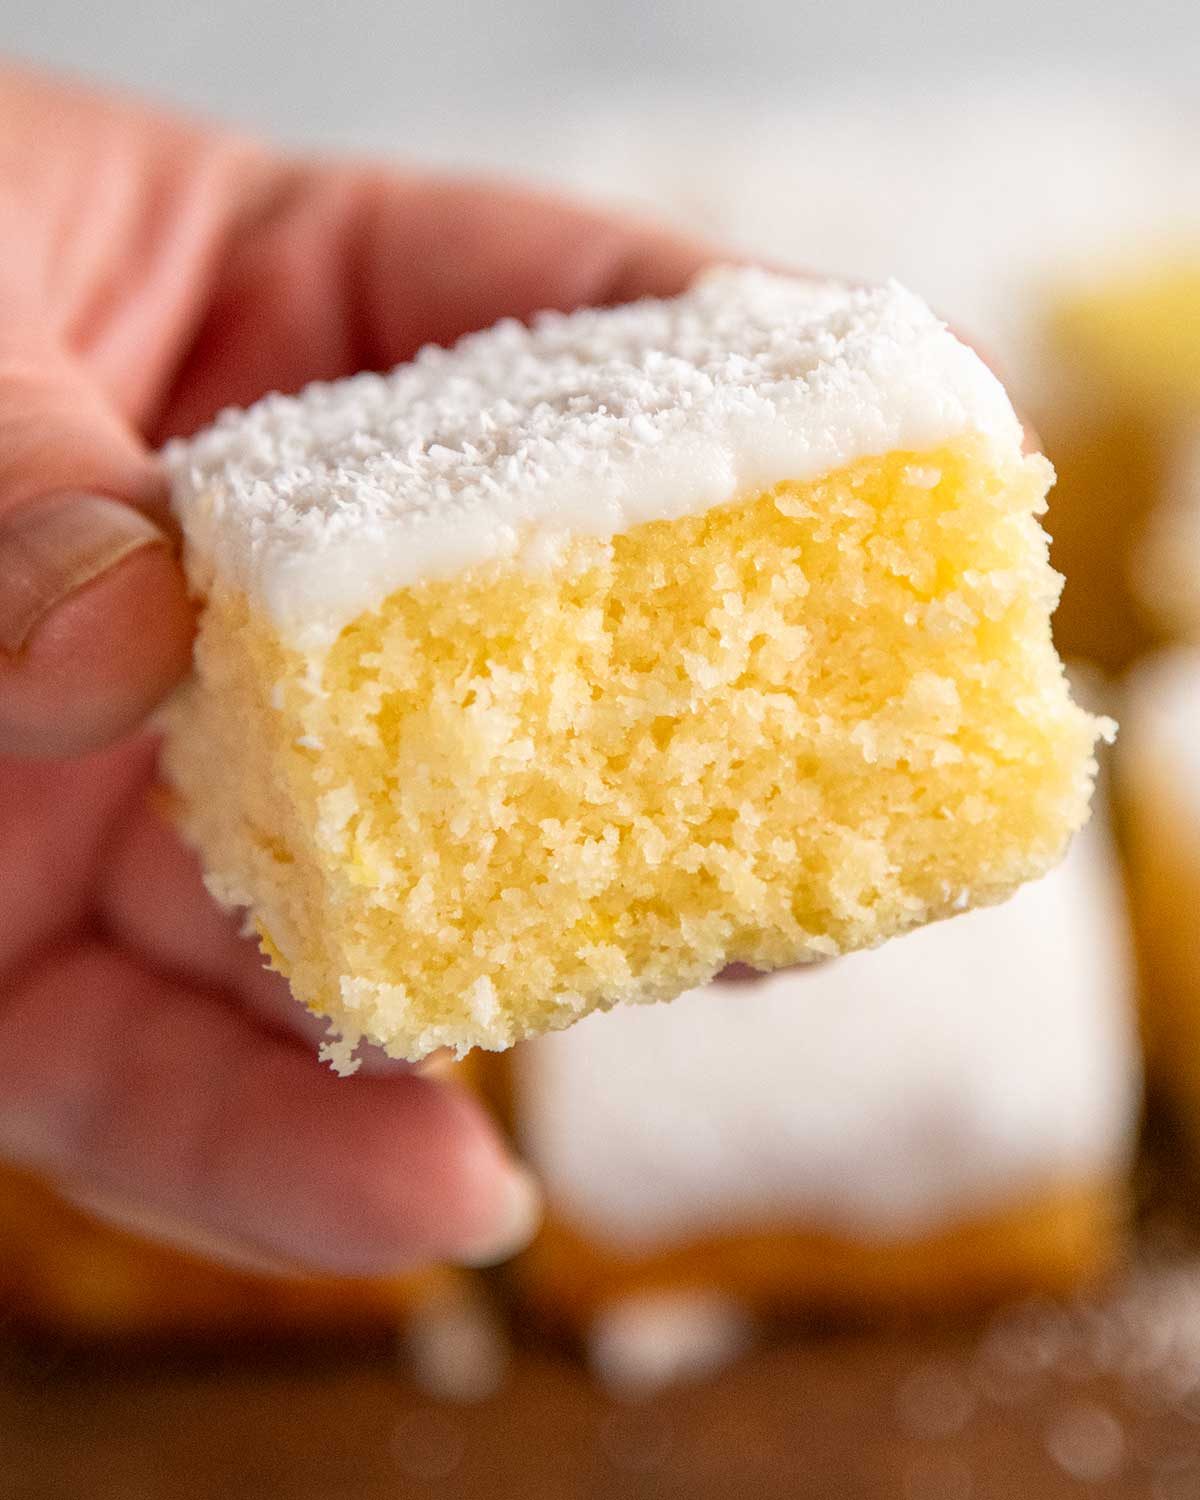
It’s a thin lemon butter cake cut into handheld pieces and thickly iced with a glaze that crusts on the surface, making it practical for wrapping, stacking and transporting without frosting smearing everywhere. Sometimes it has coconut in it, sometimes it doesn’t. I like it with, so mine does!
I’ve seen it called Lemon Slice, but in my simple mind, bars and slices have compact bases like these Lemon Bars, whereas this is actually a thin cake. Hence the awkward name – Lemon Coconut Slice Cake!
Ingredients in Aussie Lemon Coconut Slice Cake
Here’s what you need to make this.
1. For the cake part
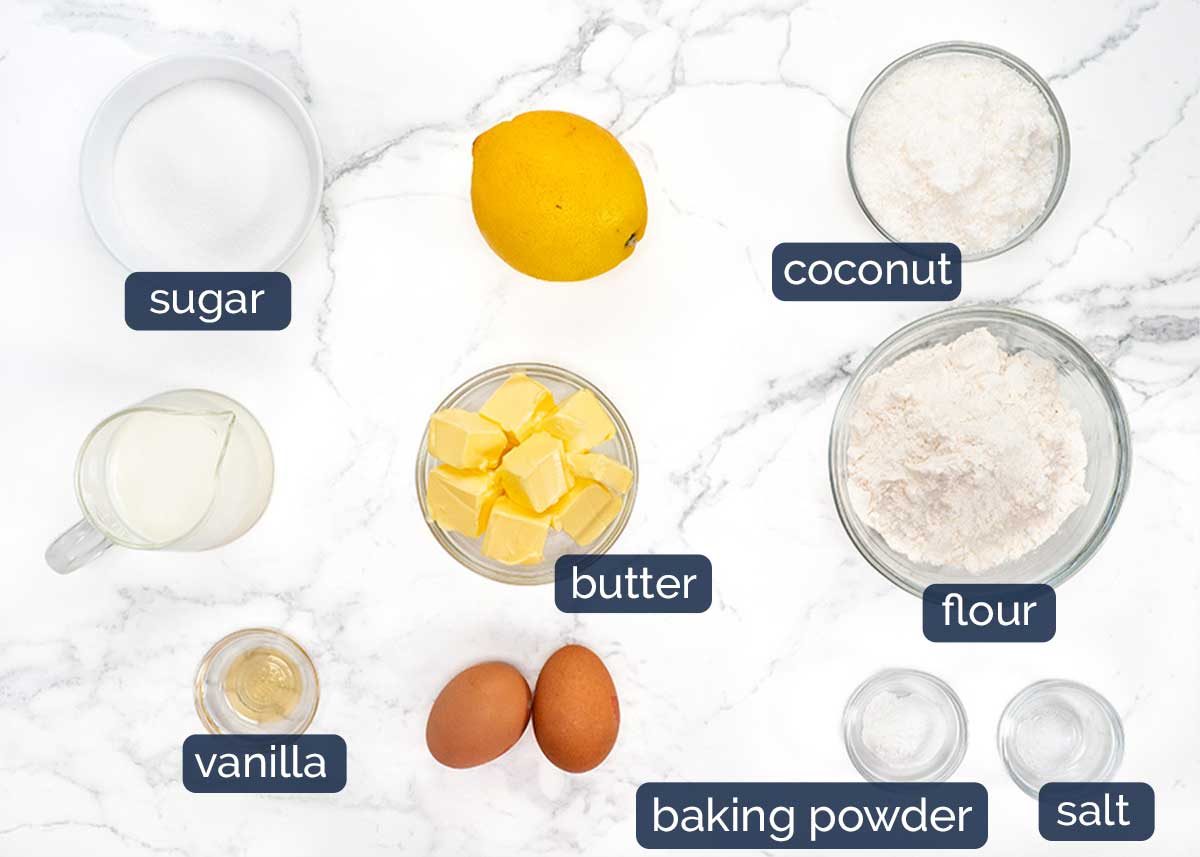
1 very big lemon or 2 regular lemons – We need 1 tablespoon of zest and 2 tablespoons of juice for the cake, and 7 – 8 teaspoons for the icing. Fun fact: lemon flavour is in the zest. The juice just makes things tangy. 🙂
Flour – Just plain / all-purpose flour, not self-raising flour (wrong amount of baking powder built in for this cake).
Desiccated coconut – This is the finely shredded type that is like panko breadcrumb size, called shredded coconut or finely shredded coconut in the US. Not shavings or flakes (too large), not coconut powder. Make sure it’s unsweetened (standard in Australia).
Note: You can leave the coconut out if you prefer, and make a lemon cake. That’s actually how this recipe started out, but then I added coconut and like it even more. 🙂
Baking powder – This is what makes the cake rise. We only need 1 teaspoon. Don’t substitute with baking soda, the cake gets a bit of a hump in the middle (we want flat for this slice-cake).
Unsalted butter – Softened to room temperature so it can be creamed.
White sugar – Caster / superfine sugar if you’ve got it (it’s finer so dissolves more easily) other regular sugar works too (granulated sugar).
Large eggs – Eggs around ~50 – 55g/2oz each, from a carton labelled “large eggs” (which are 600g for a dozen which suggests 50g each, but not all eggs are exactly the same weight – selfish hens! Why can’t they lay exactly the same size eggs every single time!! 🙄😆).
Milk – Just regular milk is the liquid for this cake! Make sure the milk is at room temperature as fridge cold milk can make butter solidify and you’ll up with greasy little butter pockets in the cake, and it won’t rise as well.
Salt – Just a tiny amount, to bring out the flavours in everything else.
2. For the thick glaze icing
This icing is actually just a glaze, but I make it very thick so it spreads like a buttercream frosting rather than a typical runny glaze that is see-through and runs down the side of the cake. It will set with a crust on the surface and it’s not greasy like buttercream, which makes these slices really practical – you can stack them, wrap them in cling wrap, pack them into lunch boxes and bundle in gift bags without icing smearing everywhere.
Here’s what you need:
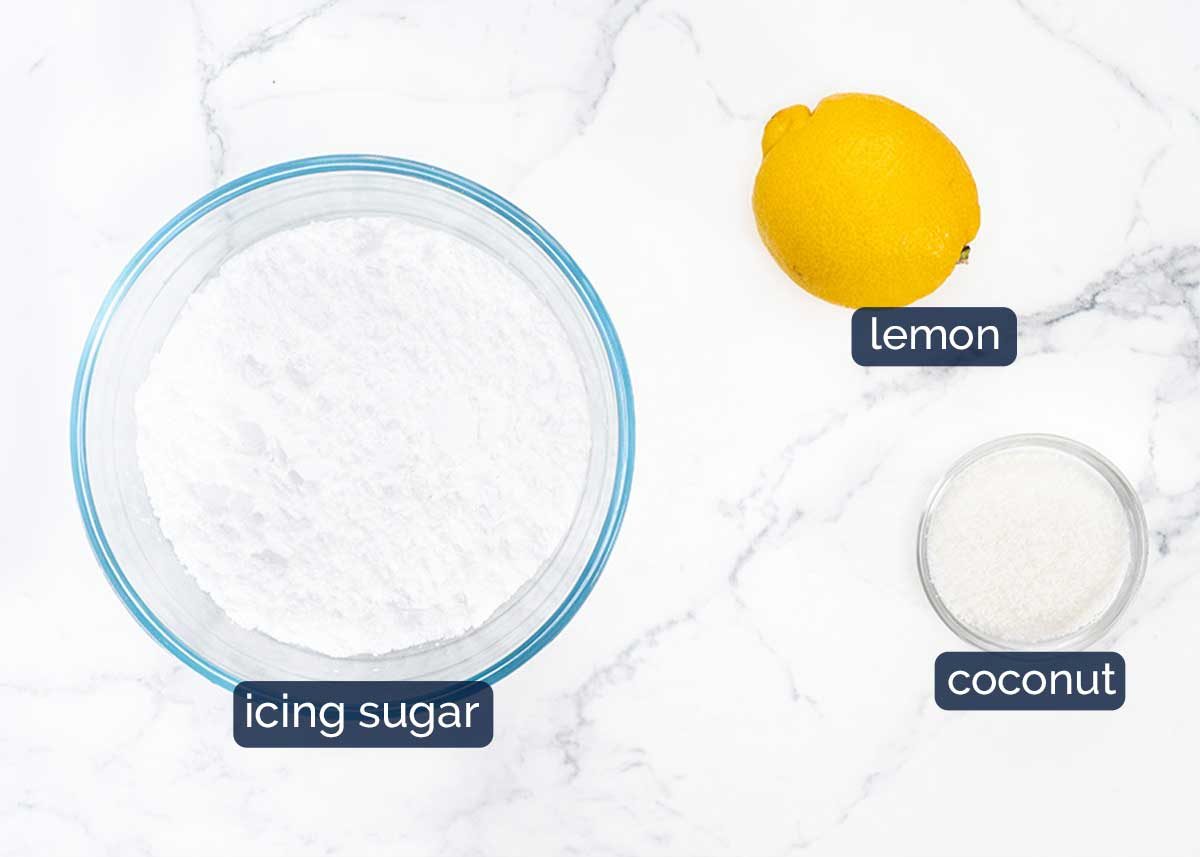
Soft icing sugar / powdered sugar – If you’re in Australia, get the type of icing sugar called SOFT Icing Sugar rather than PURE Icing Sugar (which sets harder, like royal icing). If not presented with these options, just get what you can. 🙂
Lemon juice – This is the liquid to make the icing. We only use a very small amount – 7 to 8 teaspoons for 2 cups of icing sugar – which sounds like nowhere near enough, I know! But trust me, keep mixing and smearing and that enormous pile of icing sugar will come together into a thick, smooth icing that stays on the surface rather than running down the sides like typical glazes.
Desiccated coconut – For sprinkling.
How to make an Aussie Lemon Coconut Slice Cake
The most important thing with this recipe is to ensure the eggs and milk are at room temperature, not fridge cold, else the butter will solidify and you’ll get little hards bits of butter in the batter rather than mixing in smoothly.
Oh – also! Don’t use a stand mixer. The volume of batter is so small, you will spend more time scraping down the sides than actual mixing time. (I tried, it was a pain!)
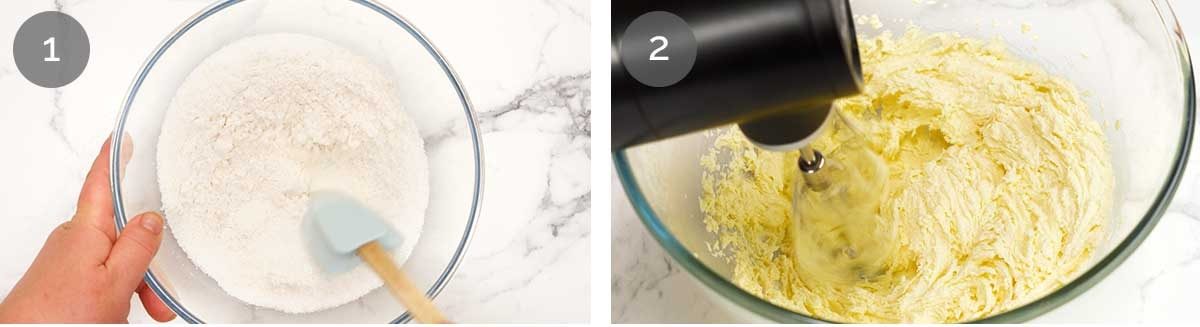
Dry ingredients – Mix the dry ingredients in a medium bowl (flour, coconut, baking powder and salt).
Cream butter and sugar – Using a handheld beater (don’t use a stand mixer, there’s not enough batter), cream the butter and sugar for 2 minutes until it’s light and fluffy. Start on low speed so you don’t get sugar spraying everywhere, then increase the speed to high when you can.
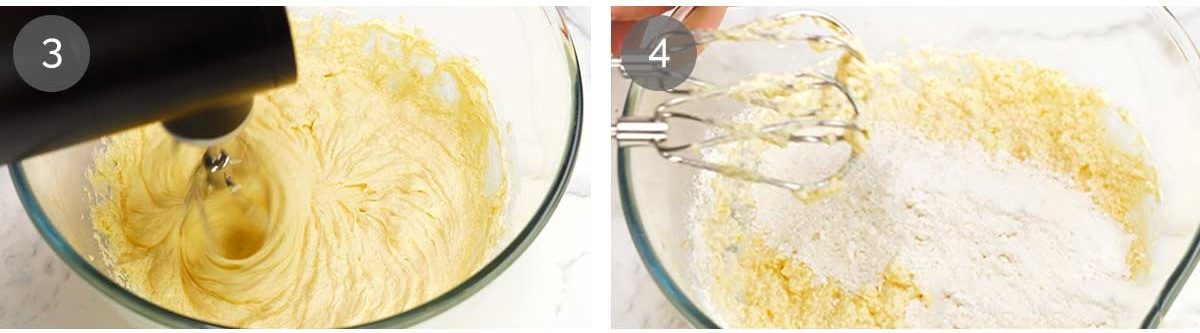
Beat in the eggs one at a time until it’s mix in, then the lemon juice, zest and vanilla. The batter will look a little curdled once the lemon goes in but it’s ok, it will come together into a smooth batter when the flour is added.
Flour and milk, alternating – Add 1/3 of the flour mixture and beat on low speed just until the flour is mixed in, then stop. Add half the milk, beat on low just until incorporated, then repeat again with half the remaining flour, beat, milk, beat, then remaining flour and beat. Stop when you can no longer see flour.
Using this method minimises the mixing required to incorporate all the flour and milk (ie if you dump them all in one go, you have to beat for longer to mix in), and less mixing = softer cake. Over mixing batter = hard cake!
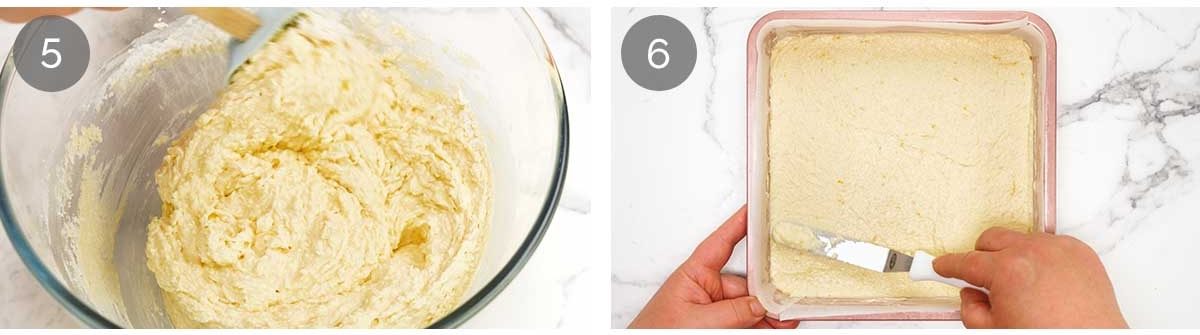
Finish by hand – Use a rubber spatula to sweep around the bowl and mix in any stray bits of flour.
Pour into a 20cm/8″ square pan lined with paper and smooth the surface.
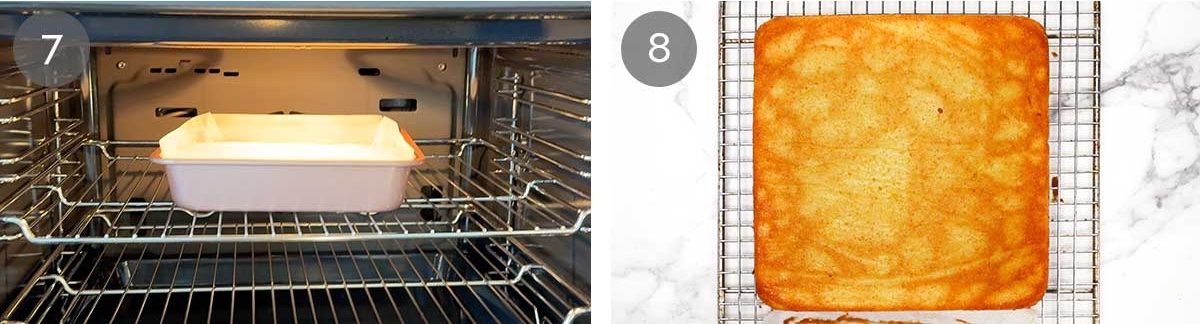
Bake for 30 minutes at 180°C/350°F (160°C fan) or until a toothpick inserted into the centre comes out clean.
Cool upside down – Cool in the pan for 5 minutes, then turn it out onto a rack and cool it upside down. This gives us a perfect flat surface for icing.
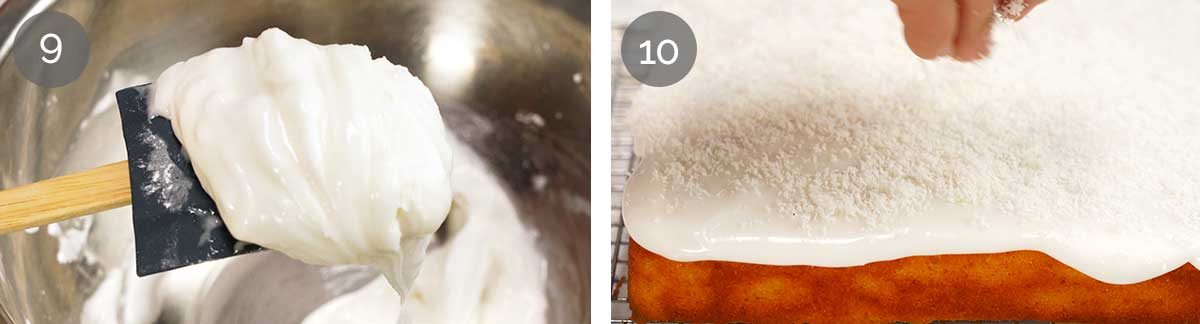
Icing (frosting) – This is a very thick glaze, almost like buttercream, so it sits on the cake rather than running down the sides. Mix the icing sugar and lemon juice with a rubber spatula using firm smearing motions. It will seem impossibly dry at first, but persevere – at first it will turn into a dough-like mixture, then into smooth thick icing. Aim for a peanut butter consistency: spreadable, not drippy. If needed, add more lemon juice just 1/2 teaspoon at a time – glazes go from too thick to too runny very quickly, so use a tiny bit at a time!
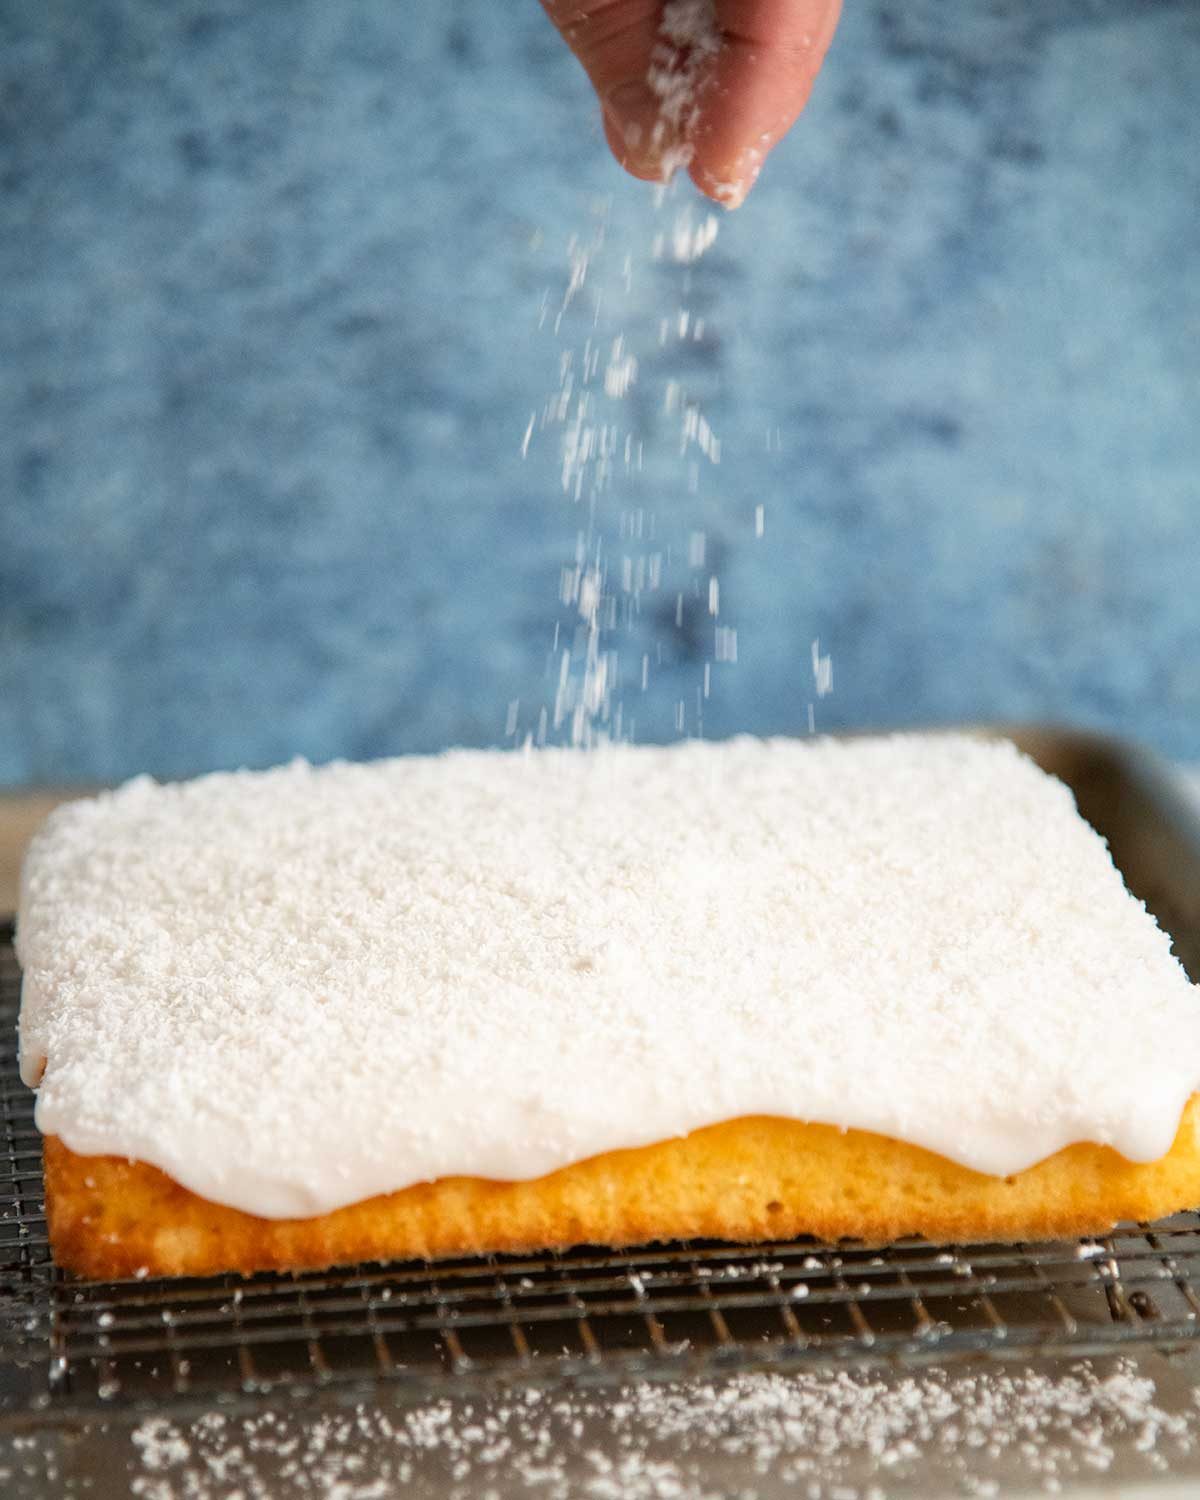
Ice and shower – Once the cake is completely cool, spread the icing on from edge to edge. Sprinkle with desiccated coconut, then let the icing set for half an hour before slicing into squares or bars to enjoy!
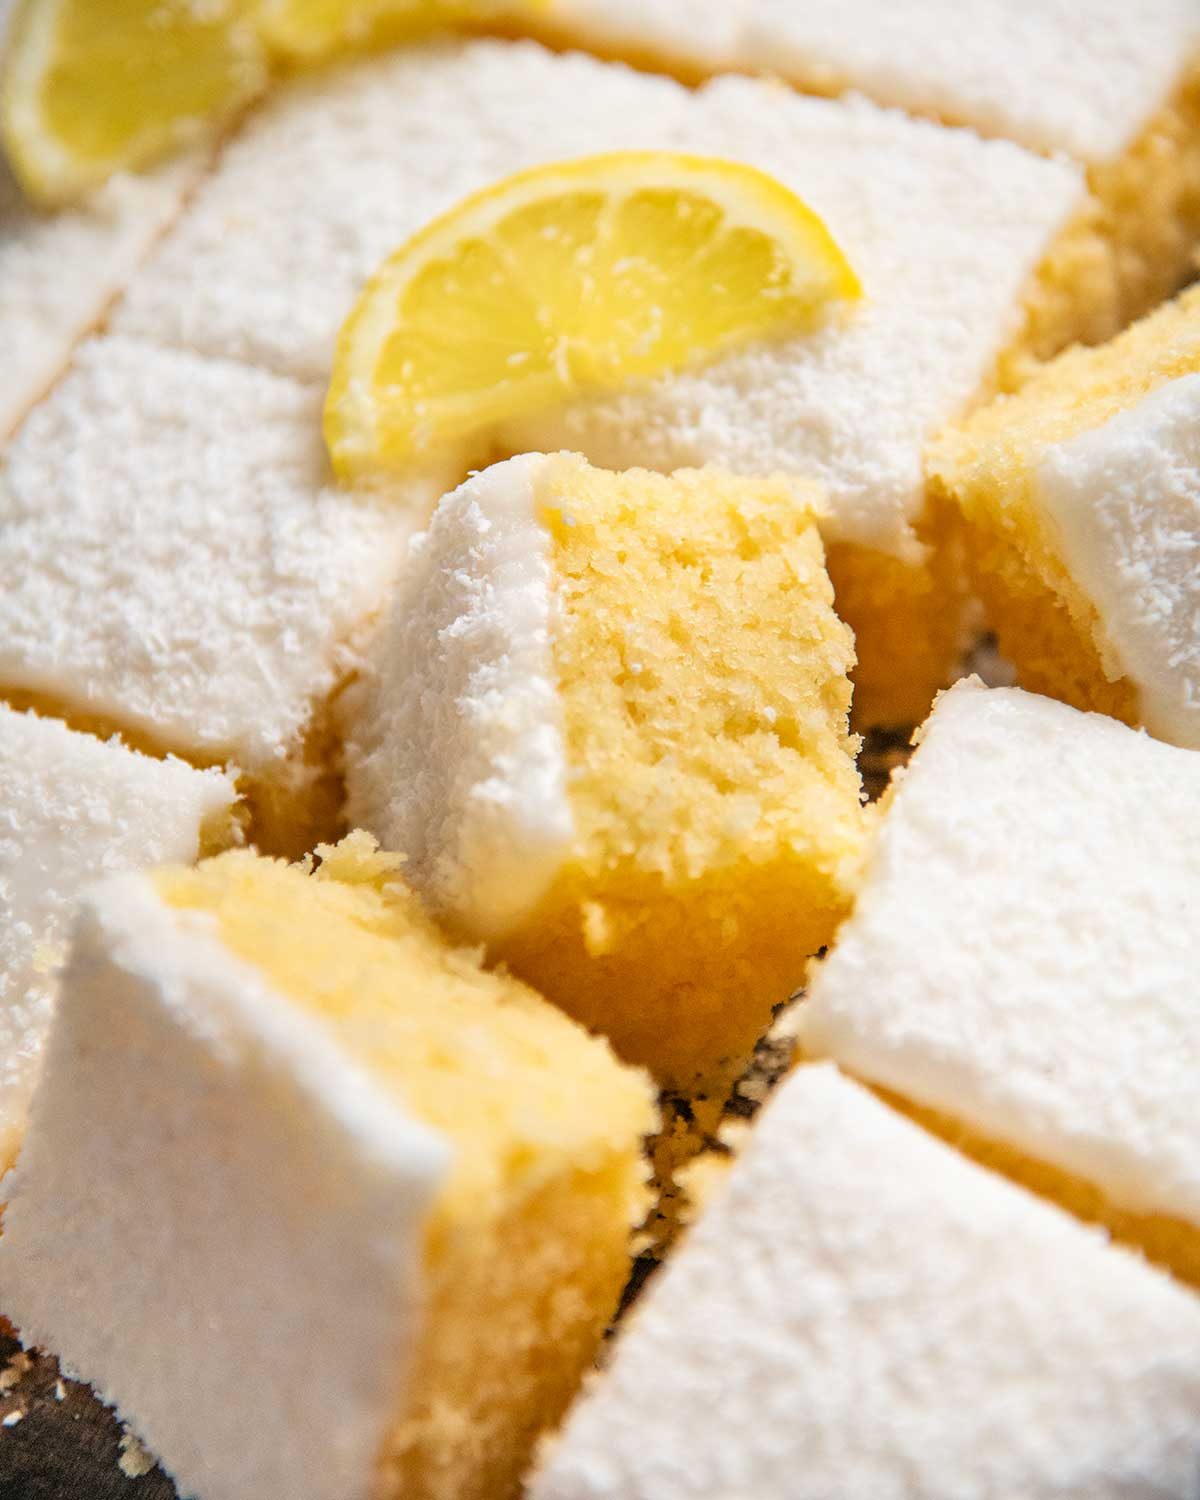
Stays fresh for a week
Another very appealing feature of this cake is that it stays fresh for a week, thanks to the coconut which adds moisture into the cake. Nice not to have to resort to any bakers’ tricks for keeping this cake moist like buttermilk, yogurt, sour cream or oil!
In fact, I swear the cake was even softer and tasted better on day 2, once the lemon and coconut flavours had settled in and the moisture had worked its way through the crumb. A cake that improves overnight and stays fresh for a week – what more could you ask for! 🙂 – Nagi x
Lemon Coconut Slice Cake FAQ
This cake will stay fresh for a week. Keep it in a cool pantry in an airtight container. If it’s hot where you are, keep it in the fridge but I highly recommend bringing to room temperature (cold cake is hard and you can’t taste the flavours as well).
These worked very well with gluten-free flour! The cake was a little more crumbly when cutting but not so crumbly that it’s a problem to eat with your hands. The taste is the same, the texture has the faintest powdery-ness that comes through in some cakes using GF flour, but it is barely noticeable. I think I only notice it because I’m looking for it.
Note: These were tested with White Wings Gluten-Free flour, a brand that is carried by large grocery stores here in Australia. Gluten-free flour blends vary a lot between brands, so I can only vouch for White Wings. However, the fact that it worked so well gives me confidence other good gluten-free flour blends should work too, though results may vary.
I haven’t tried but the recipe as written should work for limes, oranges and other citrus fruit. The only question is how strong the flavour is – lime should be fine, but oranges etc may be a little light on flavour. If you’re after full-on orange flavour, you can’t beat this Whole Orange Cake – rind and all!
Watch how to make it
Hungry for more? Subscribe to my newsletter and follow along on Facebook, Pinterest and Instagram for all of the latest updates.
Aussie Lemon Coconut Slice Cake
Ingredients
Dry:
- 1 cup plain flour / all-purpose flour (Note 3 for gluten-free)
- 3/4 cup desiccated coconut , unsweetened (Note 1)
- 1 tsp baking powder (make sure yours is still active)
- 1/8 tsp cooking salt / kosher salt
Wet:
- 125g / 8 tbsp unsalted butter , softened (Note 2)
- 3/4 cup white sugar , caster/superfine or regular/granulated
- 2 large eggs , at room temperature (~50-55g/2 oz)
- 1 tbsp lemon zest
- 2 tbsp lemon juice , at room temperature
- 1 tsp vanilla
- 1/2 cup milk , full fat, at room temperature
Lemon Icing:
- 2 cups soft icing sugar / powdered sugar , sifted
- 7 – 8 tsp lemon juice , BE CAREFUL! Goes from perfect to runny with the teeniest amount too much!
- 2 tbsp desiccated coconut , for sprinkling
Instructions
ABBREVIATED RECIPE:
- Whisk Dry, set aside. Cream butter and sugar, beat in eggs one at a time. Beat in vanilla, zest and juice. On low, beat in 1/3 flour then 1/2 milk, repeat, finishing with flour. Finish mixing by hand. Bake in 20cm/8" lined pan 30 min at 180°C/350°F (160°C fan). Cool upside down, spread with icing, sprinkle with coconut.
FULL RECIPE:
- Preheat the oven to 180°C/350°F (160°C fan-forced). Grease and line a 20cm/8" pan with paper.
- Dry ingredients – Whisk the Dry ingredients in a medium bowl. Set aside.
- Cream butter – Using a handheld electric beater, cream the butter and sugar in a separate bowl until it is smooth and fluffy, about 2 minutes (don't use a stand mixer, there is insufficient volume).
- Eggs, lemon and vanilla – Beat in the eggs one at a time until smooth. Then add the vanilla, zest and lemon juice and beat just until combined. It will look a little curdled at this stage, that's ok, it comes together in the next steps.
- Alternate flour and milk – Add 1/3 of the flour and beat on low until mostly mixed in. Add half the milk and beat just until incorporated. Repeat with another 1/3 of the flour, the remaining milk, then the remaining flour, mixing only briefly after each addition. Stop beating as soon as the flour disappears, then finish mixing by hand with a rubber spatula, making sure all the flour is mixed in. The batter should be like softly whipped cream – not runny, but not thick like peanut butter, with little lumps from the coconut.
- Bake – Scrape batter into the cake pan and smooth the surface. Bake 30 minutes or until a toothpick inserted into the middle comes out clean.
- Cool in the pan for 5 minutes, then cool upside down on a rack – we will ice the base as it's nice and flat. Fully cool before icing.
- Spread with the Lemon Icing, all the way to the edge. Then sprinkle with coconut while wet, so it sticks. Let the icing set for 1 hour before slicing to serve!
Lemon icing:
- Persevere! Put the icing sugar and lemon juice in a large bowl and use a rubber spatula to mix, using a smearing motion to combine until the glaze becomes a thick spreadable consistency like peanut butter (rather than the runny drippy kind). Be patient, it takes time to mix and assertive smearing to combine just a bit of lemon with lots of icing sugar! Only add extra lemon juice 1/2 teaspoon at a time if needed – glazes go from too thick to runny very easily!
Recipe Notes:
Nutrition Information:
For lemon lovers 🍋🍋🍋


Life of Jaffle
The idea for this cake came with the first ripe lemons on my dwarf lemon tree, which of course immediately became Jaffle’s favourite toys. Because that’s the rule, right? Everything that’s mine is his!

Though, he trotted off gleefully with his prize and I think he gave it a few enthusiastic squeezes in his mouth that must have released a bitter little spritz of lemon because he suddenly stopped, looking confused and unimpressed. 😂

This one goes on the things-to-try-this-weekend list!
I might suggest, though, if you really want to make the most of that lovely lemon zest, add it to the sugar and rub with a spatula or the back of a spoon until all the sugar is yellow (or light orange if you use an orange), it releases even more flavour!
Hi! So excited to this! Quick question – are the metric conversions robot made or also tested? I am worried about measuring the coconut in cups since the size of the flakes varies here in Brazil. Thank you so much!
Hi Dora, the metric measurements aren’t robot conversions, we test all of our recipes and enter all the measurements manually ourselves. Hope you like the cake!
Hi, Yes, it’s a great little technique, rubbing citrus zest into sugar helps release even more aromatics that’s right. Here, we kept the method a little more straightforward :). Hope you enjoy it this weekend!
Hello again Nagi – I meant to email you when you explained why you named your new dog Jaffle. I was born in Scotland and moved to Canada when I was 8. I grew up with my parents jaffle iron and have been using one all my life, so I was surprised that you thought it was an Australian invention – but your probably right, however it doesn’t explain how mu parents drought their jaffle iron to Canada close to 80 years ago.
When we started using induction stoves tops a few years ago, I had to get rid of my old aluminum “iron” and found a real iron iron, which I’m going to use in a few minutes for my favourite breakfast – left over meat loaf jaffle.
Thanks for helping a retired Architect enjoy cooking so much.
Hi David, like you I was born in Scotland and moved to another country when I was 8! But we moved to Australia. In my family we always called it a ‘sandwich toaster’ and it makes ‘sandwich toast’. Jaffle is probably a better name for it though.
Origin: The name and design were patented in 1949 by Dr. Ernest Eric Smithers in Australia, though similar devices like the American pie iron or “pudgy pie” maker appeared around the same time.
Thank you for enlightening others of the word “Jaffle”. I also knew of it’s invention, now others will know how it came to be. One for Australia.
I just love camping, and our double jaffle iron is one of the first things to be packed. Many years ago a few of us were up the coast just south of Agnes Water on an isolated headland, using a huge fire every night to cook. Lucky there were no other people around.
One of the guys pulled out the jaffle iron, emptied the jaffles out and placed it on the ground out of the way., saying “For *^*^^s sake, don’t anybody stand on this!”, then promptly turned around and stood on it! He picked it up and flung it far away, while cursing very loudly, narrowly missing the rear of his car! In typical fashion, he then had most of the words ‘Toastie Toastie’ imprinted backwards in the sole of his foot, just to annoy him. I don’t remember if the imprint stayed there. Greg was not made for camping,
Dear Nagi! I really appreciate your notes; they are so helpful for all of us who have to live gluten-free.
I will bake this cake this weekend. There is no way I am not going to try it.
Thank you for your kind words Alexandra, I hope you enjoy it as much as us 🙂
I love the fact that you put a gluten free alternative in, thank you so much, definitely will be trying this.
You are welcome Karen, I hope you like it 🙂
Hi nagi … Jaffle will slowly learn that not everything that looks wonderful – tastes wonderful (for dogs anyway 😂) love the sound of this and would love to make
It. Is it possible to sub the butter for oil?
Hi Patsy, I wouldn’t recommend replacing the butter with oil for this one. Butter is an important ingredient here and makes up quite a large proportion of the recipe. The butter-and-sugar creaming technique is important and gives the cake its structure and texture.
“assertive smearing” 😂 🙌
Perfect timing! I need to bake for a community event next weekend and this looks just right for it! Thanks ❤️
Indeed it’s perfect Fiona! I hope you like it!
If you leave out the coconut, would you sub extra flour?
Jaffle watch out Dozer was snickering 🤭 at you ! Treated myself to a lime & coconut cake the other day in Woodend …..I was thinking about a recipe ,so thanks Nagi and The Jaffman 💛🧡
I can just imagine Dozer having a good laugh at Jaffle’s expense! And lime coconut cake sounds wonderful. The Jaffman sends his regards! – N x
I am not a fan of coconut so will make without that ingredient, but otherwise sounds delish!
Love the photos of Jaffle. I’m sure he did get quite the surprise when he bit down on that lemon. How can something so pretty and fragrant taste so sour!
Luckily it tastes wonderful in cake. Yum! You are lucky to be able to grow lemons in your yard!
It works beautifully without coconut too! And yes, Jaffle was VERY confused by that lemon. 😂 I don’t think he’ll be stealing another one in a hurry! – N x
Love this recipe, and I’ll try freezing a few slices for Ron.
Thank you Pauline 🙂
Hope you love it Pauline! And yes, it freezes beautifully! – N x
OMG, he’s such a little character, haha, love him already. Oh, the recipe looks good too.
Thank you Suzanne!
I’m not a fan of icing, is the cake still good without the icing?
Hi Julie, the cake itself has lovely lemon and coconut flavours, so it will still be delicious without the icing. Just keep in mind that the icing brings quite a bit of the lemony kick, so without it, don’t expect the lemon flavour to be as strong.
Oh delicious
Don’t you just love it when they take something they don’t really want it but they won’t surrender it either 😁😁
He he SO TRUE!!
This looks amazing!! I can’t wait to try it, but do you think this could possibly work with an airfryer? I live in a country where houses don’t have ovens so an airfryer is all I’ve got right now 🙁
The timings will be different, by an airfreight should work. Essentially an airfare is a small convection oven.
Hi Tiffany, we don’t have much experience cooking with air fryers here, so unfortunately I can’t confidently give you a temperature or cooking time. But you’re definitely not alone, we’re getting more and more air fryer questions from readers, we’re planning to do more testing so we can give you more concrete answers in the future.